

Introduction:
Today in this article we are going to discuss how to make music reactive LED Strip spectrum or LED VU meter. Here I will use WS2812B addressable RGB LED you can also use WS2811 and it is also. The difference is between the IC. this type of LED needs only one data input signal for running all the LEDs. So, let’s make it.
Watch Video:
Here is the video from the Creative Creator. Watch the full video and you will understand Everything. He has explained everything in the video.
Online Buying Links:
- WS2812B LED Strips: https://bit.ly/3bnHEBD
- SP107E Music Reactive LED Strip Controller: https://bit.ly/2xUYQ3M
Steps for making the LED VU meter:
Step 1:
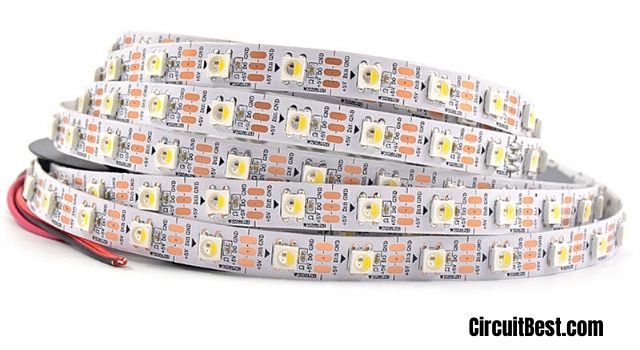
Here I have used 5 meters of 60 LEDs per meter. In the market, you will get many LED strips but I will suggest you go with branded LED strips because it will produce many Rich Colors. Here I have used WS2812B addressable RGB LEDs. These are 5 volts LED strips. Take special care about the voltage because if you use it with the wrong voltage (Mainly runs with 5V) then the LED may be damaged.
Step 2:
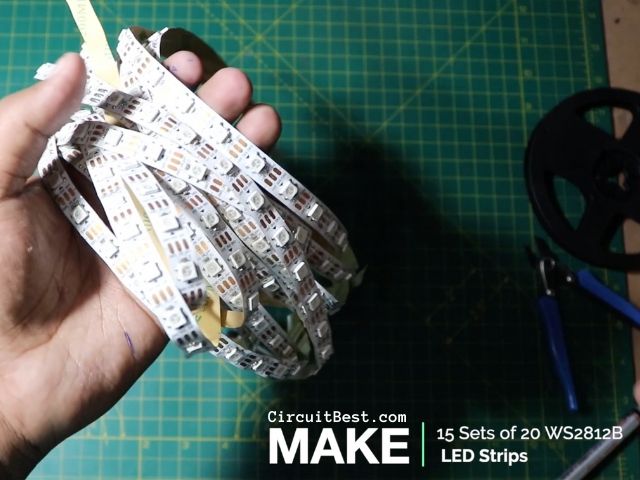
Now you have to cut the LED strips. My LED strip has 300 LEDs. So I want to make a square with the LED so I just divided the LEDs into two parts 20/15. There will be 15 LEDs in a row and the columns will be 20. In total, there will be 300 LEDs used. Now you can connect in dimensions you want to suppose you can use 10/10 or 20/20 as your wish.
Step 3:
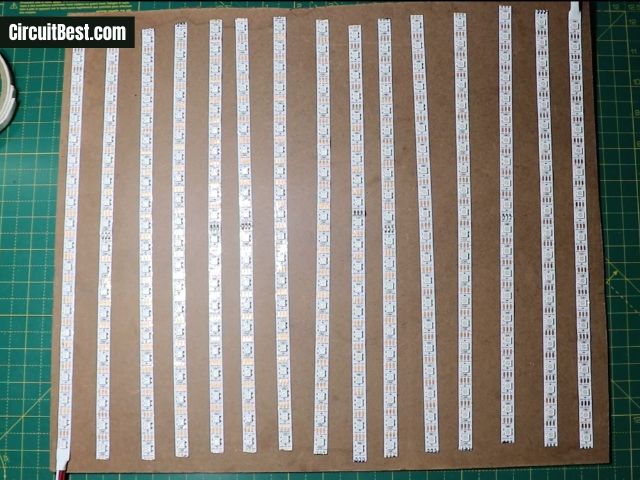
Now you will need cardboard for holding all the LED strips the dimension of the cardboard is 16.5 in length and 14 in width. one more time it goes with a personal preference what will be the cardboard dimension. At next, you will need a jigsaw to cut the cardboard.
Now take the LED strips and attach them with the cardboard with the given glue at the backside of the LED Strip. Try to connect all the LEDs in a sequence such that all LEDs maintain the same distance.
Step 4:
Here is a simple picture of how we should connect all the LEDs. Just make sure there previous LED’s Data-Out pin will go to the next LED’s Data In pin. If you connect the LEDs in a different way then the LEDs will not work.
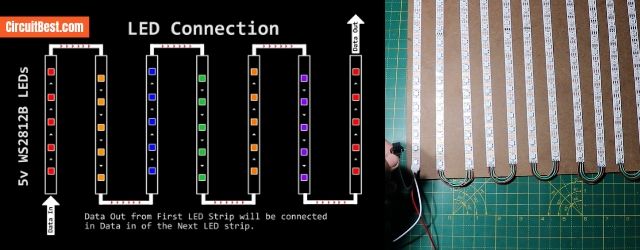
After connecting all the LEDs on the cardboard it will look like this. This panel has 300 LEDs in total.
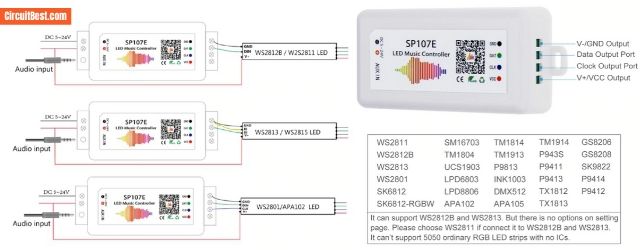
Controller:
For the controller, I have gone with the SP107E Music Reactive LED Strip VU Meter Controller. This is the only controller that gives most of the great things at a very low price. It has a wide voltage range with a large LED selection.
| Working Voltage: | 5V-24V |
| Working Current: | 18mA-45mA |
| Working Temperature: | -20℃ to 60℃ |
| Wireless Connectivity: | Bluetooth, 20 Meters |
| Wireless Application: | LED Chord. Available for Android & IOS |
| Maximum LED Support: | 2048 Pixels |
| Different Effects: | 180 Patterns and 8 kinds of color Adjustments. |
| Category: | DIY |
| Dimensions/ Size: | 85mm*45mm*22mm |
Specification:
The Circuit is feature-packed. These are some of the highlighted features.
- This LED controller supports up to 2048 pixels which are a lot for most of the users.
- The LED controlling app is available for both IOS and Android.
- The App connects over Bluetooth to change any type of LED patterns. There are 180+ patterns for lighting.
- The circuit also has LED Dimming Functionality.
- This controller has a wide voltage range of 5V to 24V for operating the LEDs. And also it needs only 18mA to 45mA for running its circuit. I.e. barely countable.
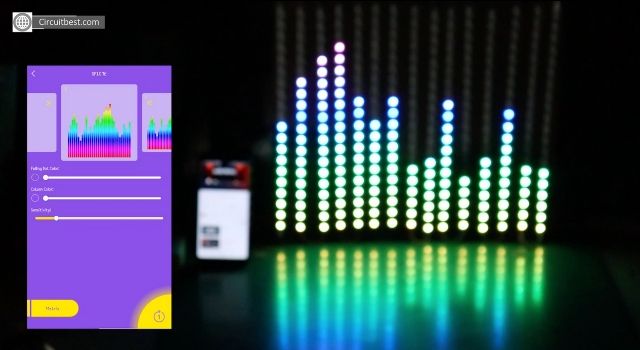
Controller Setup:
The controller comes with a 3.5 mm headphone jack. This is for connecting directly with the Android device on any type of audio source. or you can just directly use the onboard microphone for different types of audio effects. In my case, I have also used the onboard microphone for the audio effects.
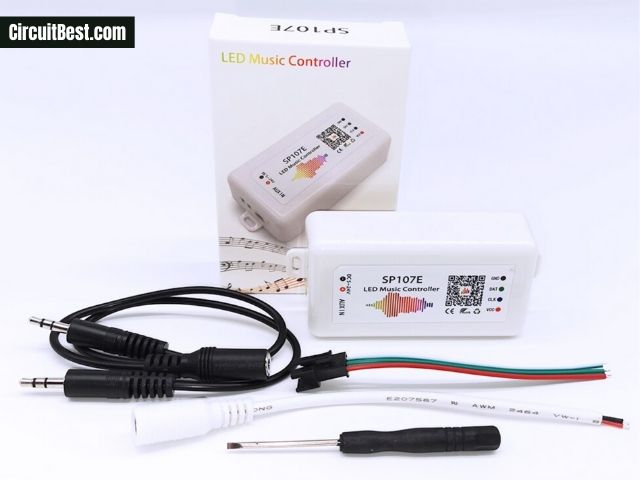
This also comes with a barrel Jack for the 5-volt input of the circuit. Here I have used a male USB port for powering the circuit. Although you can directly be connected with any type of power supply I would rather go with USB port for being portable.
Related Categories:
Here I am using WS2812B LEDs It has 3 Pins Vcc, Data In, GND. Vcc will be connected with the +ve Power supply and the GND will be connected with the common GND. and the Data Pin of the LED will be connected with the data Pin. (Make sure you are not connecting it with the clock pin.)
Step 5:
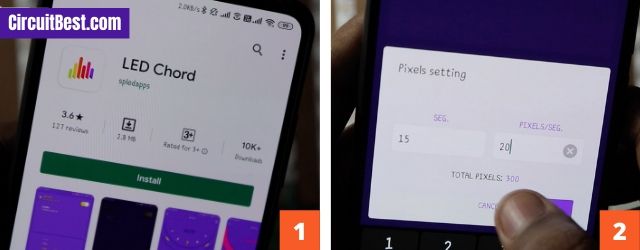
After connecting all the things you have to install the app ”LED Chord” from the App Store for iOS or Play Store for Android. Or you can click on the link and download the App. Ok after downloading the process is really simple. First, you have to open the app and then allowed the Bluetooth permission. then select the Bluetooth device from the shown me devices.
LED Chord:
- IOS App Store: https://apps.apple.com/us/app/led-chord/
- Android Play Store: https://play.google.com/LED-chord
Now you were connected with the SP107E Bluetooth LED controller. now I have to set the LEDs for my case I am using WS2812B LED strips. and the combination is GRB so I have selected that. now in the window, you can see there is no WS2812B option. so we would select they WS2811 Which is nearest in the app.
Now the third option is for the LED segment how much calories are present in rows and columns so for this case here you can see there are 15 segments so I write 15 in the segments and for the pixels, I have written 20 because per channel has 20 pixels. So, all in all, the total will be 300 when you select OK then it will show the 300.
Note:
Sometimes it may give you an error 1, -1 where do you select the LEDs in segments. this is because of the lower amount of power. so the voltage or providing to the circuit is not sufficient for running the LEDs. In this case, you have to use a higher rated power supply for running the VU meter.
PCBWAY:
They are one of the most experienced PCB manufacturing companies in China. Their customers are from all over the world.
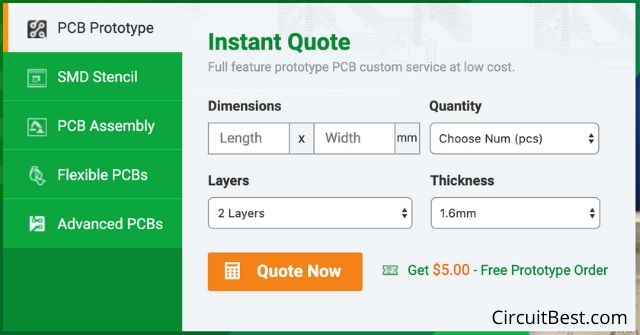
PCB prototyping and manufacturing:
They can not only produce FR-4 and Aluminum boards, but also advanced PCB like Rogers, HDI, Flexible and Rigid-Flex boards, with a very reasonable price. You can make an Online instant quote from here.
There are very punctual with the delivery. They work in three shifts. PCBWAY PCBs Top-Notch Quality. They are also providing Quality Production services to their users.
They are providing 2 layers, 4 layers, 6 layer PCBs. Their client support is great and shipping time is also very quick.
2 layer PCB is great for most of the uses. They have a great offer for Hobbyists. They have 100x100mm 10 PCBs for $5 only.
PCB Assembly:
PCBWAY also offers SMT & THT PCB Assembly Services. Their price starts from $30 with a free stencil in all over the world at free of cost. If you want then the components can be provided by them or just you can Source the components by yourself. You can do a rough quote here.
Student Offer:
And wait if you are an Engineering student then you can get a chance for getting free PCB from PCBWAY. They have provided about free PCBs to the 500+ students worth of $25,000.
So if you are a student and if you have any good project then you can tell them about that. Or you can get the Student Sponsorship from Here. They will help you to make your project with the PCB.
More Details:
Here I am providing some more important links from PCBWay. You should definitely check the links given below.
https://www.pcbway.com/why.
https://www.pcbway.com/
https://www.pcbway.com/high-
Step 6:
Now every setting is done. now you can see different effects now you can choose the effects according to your needs and you can see the lighting. you can definitely try this in the Quarantine. Very easy to make a circuit with LED strips.
The Bottom Line:
All in all, this is a great DIY project for making in quarantine. If you have all the components then you should definitely this project. The best thing is that you don’t need to mess with the coding stuff. It is just like plug and play. The SP107E LED controller supports a massive number of LEDs of 2048 LEDs. which is great for making Big LED Matrix. Nowadays these LEDs are very cheap. I hope you guys like my take on Music Reactive LED Strip VU Meter Spectrum. Even you can also make a Disco Room with it.
Your place is valueble for me. Thanks!…
WHAT DO U MEAN BY CHEAP 9V BATTERY… IT’S TOO CHEAP IT’S NOT EVEN WORKING
Sirs,
I have built a 30 segment x 30 LED matrix of WS2818B LEDs with the SP107E controller.
All the juumps have been made with 3 cables soldered from one LED strip to the next.
I set the app to WS2811, 30 segments by 30 LEDs.
The problem I have is that from the first LED far left to the 900th LED, the LEDs lose their brightness. The left hand side of the display is great but gradually across the display, the LEDs get more and more dull.
What’s wrong?
Is the power supply unable to drive the 900 LEDs?
Is one of the settings wrong?
Any ideas?
Steve